Introduce
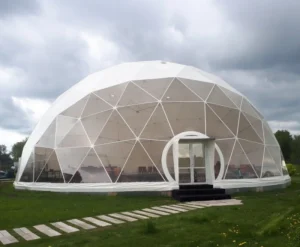
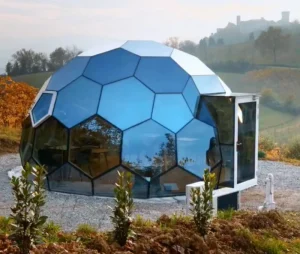
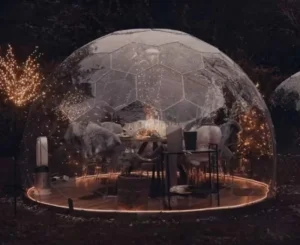
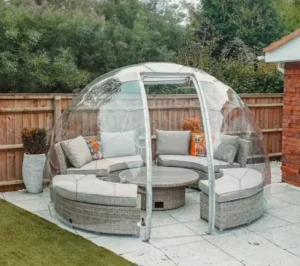
How to build a PVC geodesic dome?A Geodesic dome offers a unique, durable, and flexible shelter solution, making it a great alternative to traditional camping tents. Its strong and efficient design ensures stability, while the lightweight PVC structure makes it easy to transport and set up. Whether you’re building a temporary shelter for camping, a creative party space, or an outdoor gathering, this guide will walk you through the steps to construct your own PVC Geodesic dome.
Step 1: Tools and Materials
To begin to build a PVC geodesic dome is the assembly process, you’ll need the following tools and materials:
Tools:
- PVC Pipe Cutters:Essential for making clean, precise cuts.
- Bandsaw (Optional):Ideal for more complex cuts but can be replaced by a hand saw if necessary.
- Drill Press or Hand Drill:For drilling holes in PVC pipes to assemble the hubs.
Materials:
- PVC Pipe (1″ Schedule 40):Use for the frame and hubs. For structural integrity, Schedule 40 is recommended over thinner Class 200 PVC.
- PVC Couplings (1″ Schedule 40):To connect the hubs and struts.
- Hex Head Bolts (1/4″ x 2″) and Nuts:These will fasten the hubs and ensure the dome stays securely assembled.
- Washers (1/4″):To distribute the load from the bolts and prevent damaging the PVC during installation.
For the Frame:
- Long Struts (35 total):Each 53 5/16″ long (for an 8′ high dome).
- Short Struts (30 total):Each 46 7/16″ long (for an 8′ high dome).
Optional:
- Tarps:For covering the dome temporarily. This is suitable for dry weather conditions but not ideal for rain protection
Step 2: Constructing the Hubs
The hubs are the most critical components of the pvc geodesic dome. These connectors will join the struts, ensuring the stability and structure of the dome.
Materials:
- 10 x 4-Way Hubs
- 6 x 5-Way Hubs
- 10 x 6-Way Hubs
Instructions:
- Cut 130 x 4″ pieces of 1″ PVC pipe to create the hubs.
- Drill the pipes to fit 1/4″ bolts (make sure to leave 1/2″ of space from the edge for strength).
- Use couplings to join the tabs of each hub, creating a flexible but sturdy connection between struts.
Tip:
The process of making hubs can be time-consuming, so efficiency is key. Use jigs to mark, cut, and drill the PVC pieces accurately, ensuring all tabs are identical and fit perfectly when assembled.
Step 3: Cutting the Notches
The most time-consuming task when constructing the hubs is cutting the notches in the PVC pipes. These notches allow the struts to fit securely into the hubs. The notch should be cut 2.5 inches deep down the center of the pipe.
Important:
- Use a fine-tooth saw for smooth cuts. Be sure to take proper safety precautions and wear a dust mask or respirator, as PVC dust can be harmful.
- Use a dust collection system or shop vac to reduce exposure to dust.
Step 4: Flattening the Tabs and Drilling Holes
Flatten the tabs on each hub for easy assembly. Using a vise can help to keep the tabs flat and in position while drilling the holes.
- Drill holes about 1/2″ from the edge of the tab to make sure the 1/4″ bolts fit without friction.
Step 5: Assembling the Hubs
Once all the hub pieces are cut, flattened, and drilled, it’s time to assemble the hubs.
- Attach couplings to each tab.
- Use 1/4″ x 2″ hex head boltsto fasten the hubs together. Tighten securely, but be mindful not to overtighten and crack the PVC.
Step 6: Frame Assembly
Now that you have all your hubs prepared, it’s time to assemble the frame. The process can be tricky, so we recommend having at least 3-4 people to assist with the assembly.
Instructions:
- Lay out all the struts and hubs according to the assembly diagram. Refer to resources like the Desert Domeswebsite for a clear 2V diagram.
- Assemble the dome from the top down, securing the hubs with struts as you go.
- Attach each strut to its corresponding hub (4-way, 5-way, or 6-way) until the entire frame takes shape.
Step 7: Covering the Dome
After the frame is constructed, it’s time to cover the dome. This can be done using tarps or any other weather-resistant material of your choice.
Instructions:
- Drape the tarpover the frame, securing it at the base with duct tape or grommets.
- If you’d like to create an entrance, remove one of the short struts and create a door frame.
Tip:
For a rainproof solution, you will need to create a more durable cover or invest in waterproof fabric.
Step 8: Final Checks and Adjustments
Once the dome is assembled and covered, double-check all the connections to ensure stability and security. Adjust the tarp as necessary to fit the dome perfectly.
Conclusion
Builde a PVC geodesic dome is a rewarding project that requires patience, careful planning, and precision. This structure provides a lightweight, portable shelter ideal for camping, events, or temporary housing. With its simple yet effective design, the dome can be customized for various applications, from a party venue to a cozy retreat.
Gaxdome is here to help with quality materials and expert guidance to bring your geodesic dome vision to life. Whether you’re seeking a temporary solution or a more permanent installation, we provide the tools, parts, and support you need to create a lasting structure for your needs.
Start your Geodesic Dome project today, and create a durable, efficient, and flexible space with ease!